DIY Lime wash To Cozy Up A Space
It's been a bit since we moved into the new house...

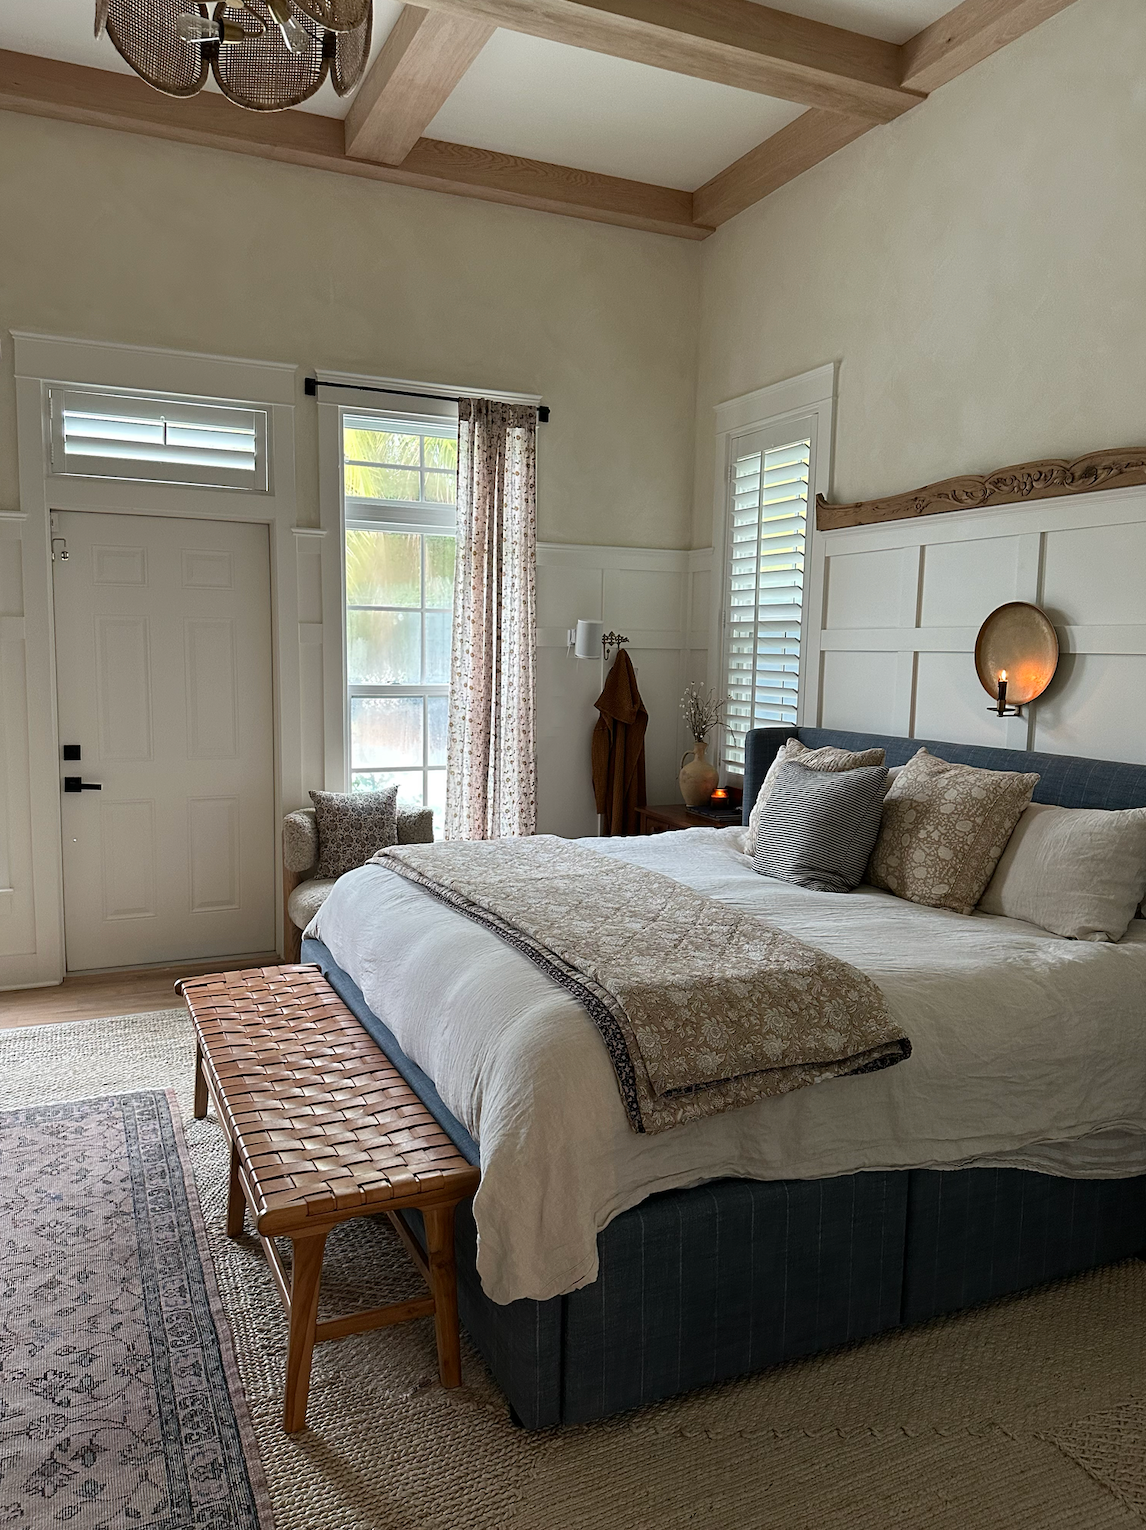
It's been a bit since we moved into the new house, and it seemed like we just kept putting our bedroom on the back burner for completion. There was always another house project, always something at The Fox or we had work / travel. But with our new bed arriving and the execution of new beams, we could see the vision and we could see complete bedroom bliss in site.
Our bedroom is so special, so sacred to our family, our marriage that to not put more effort into the coziness of it seemed odd for us. Your bedroom should feel like a place of rest, comfort, peace, vulnerability... Our home is a newer house, so things we're 'done' when we moved in. But we like to just make things feel, I don't know, extra - but in a way that is inviting and makes you never want to leave. When we added the wood beams to the ceiling, it just grounded the whole room and made is come together in a way that was lacking warmth. The photos don't even do it justice, it's SO good.
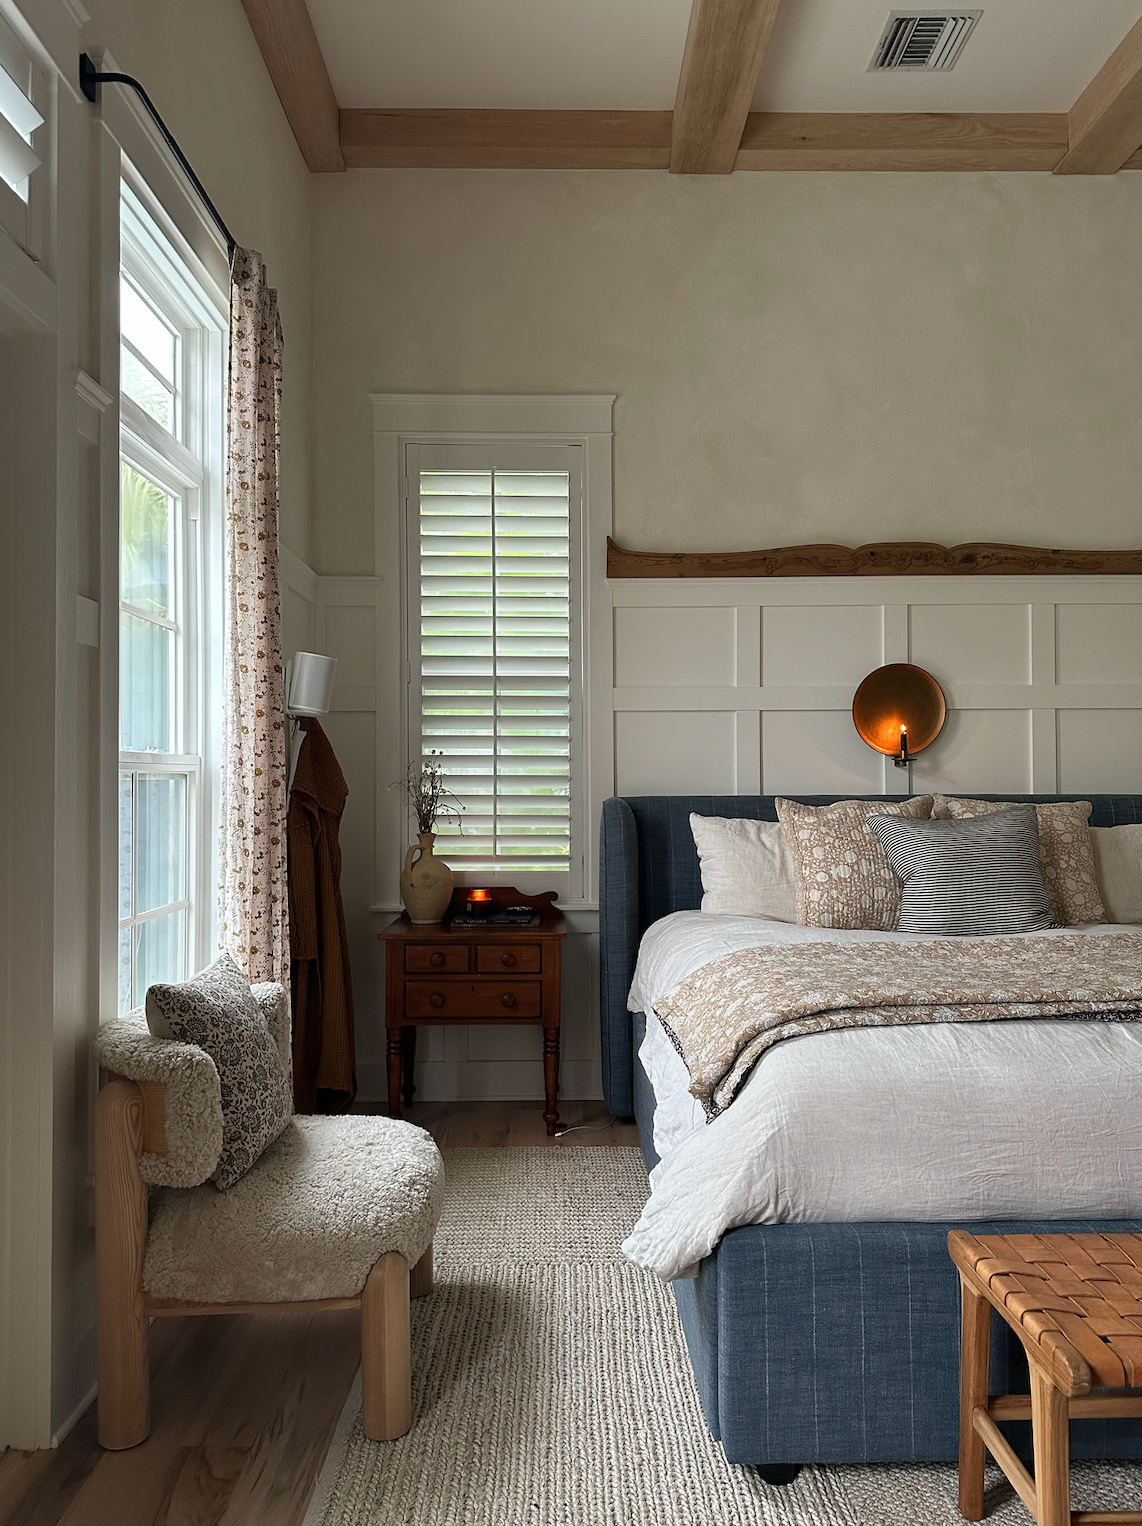
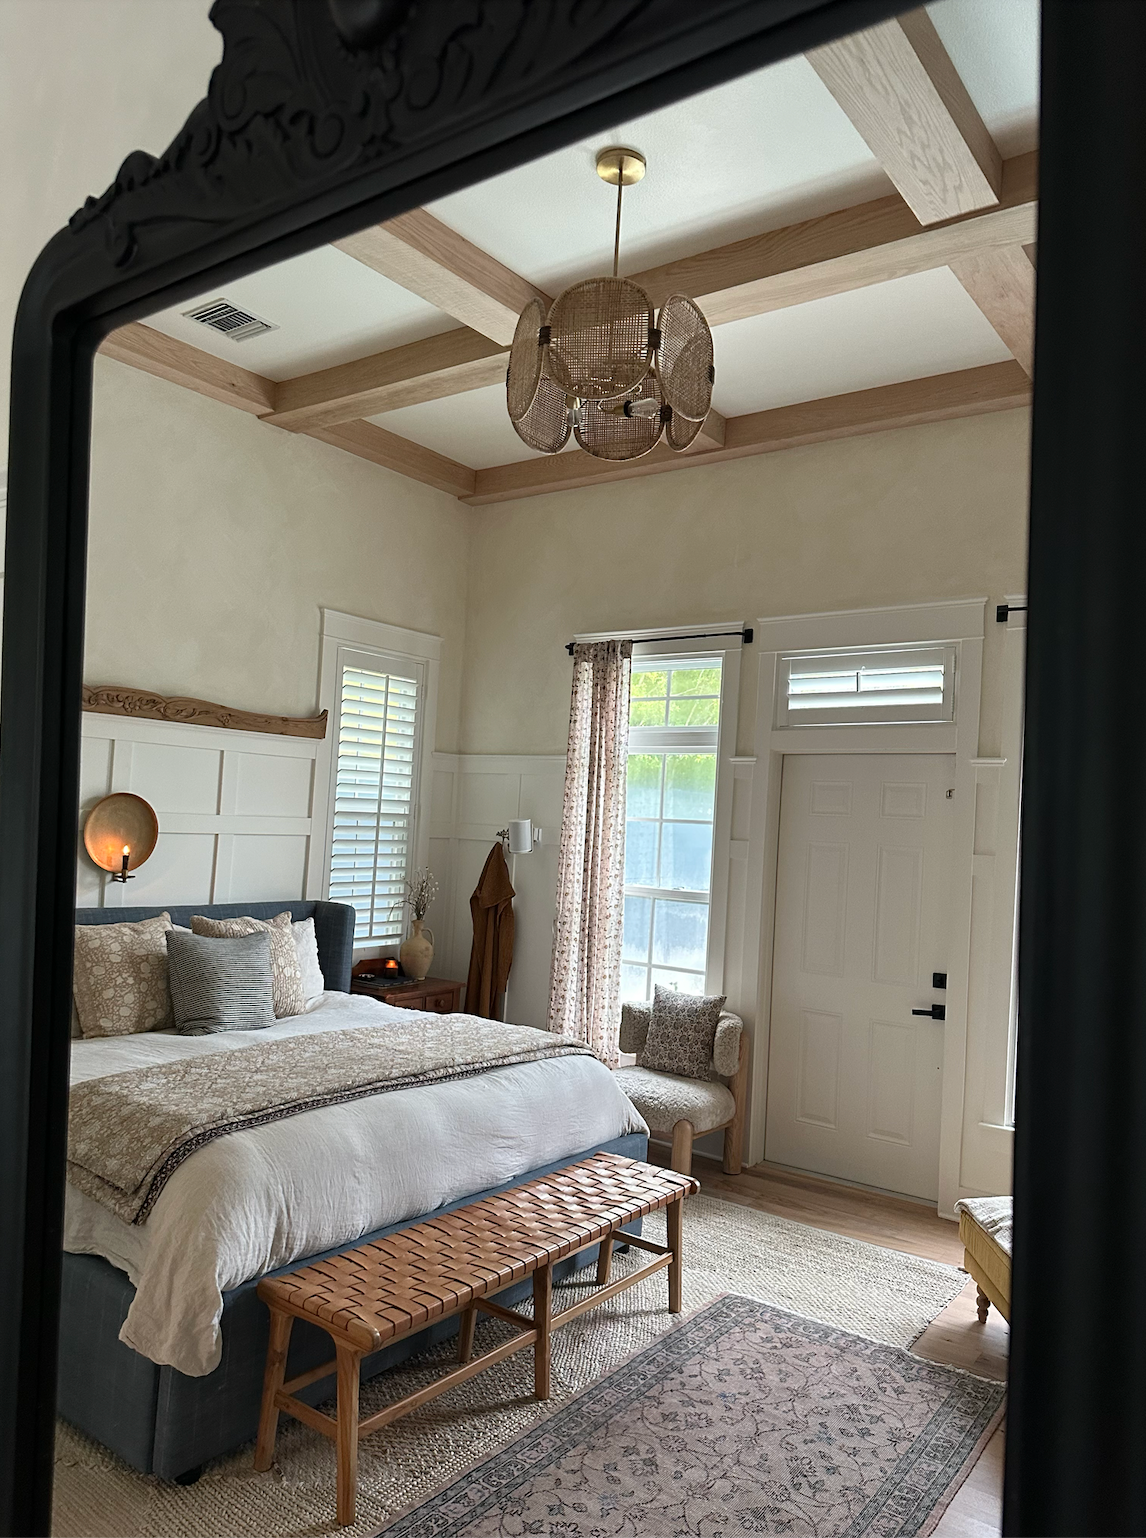
So then we added our new extra cozy bed, you just fall in and get lost and again, never want to leave! With the update of the bed, I wanted a lighter rug to contrast the bed so I 'shopped my home' and swapped out a rug that I had in another room. I added a smaller one as a layer to tie together the bed area with the chaise lounge / seating area and then pulled in a chair from the living room that seems to fit in this space like it was always meant to be there.
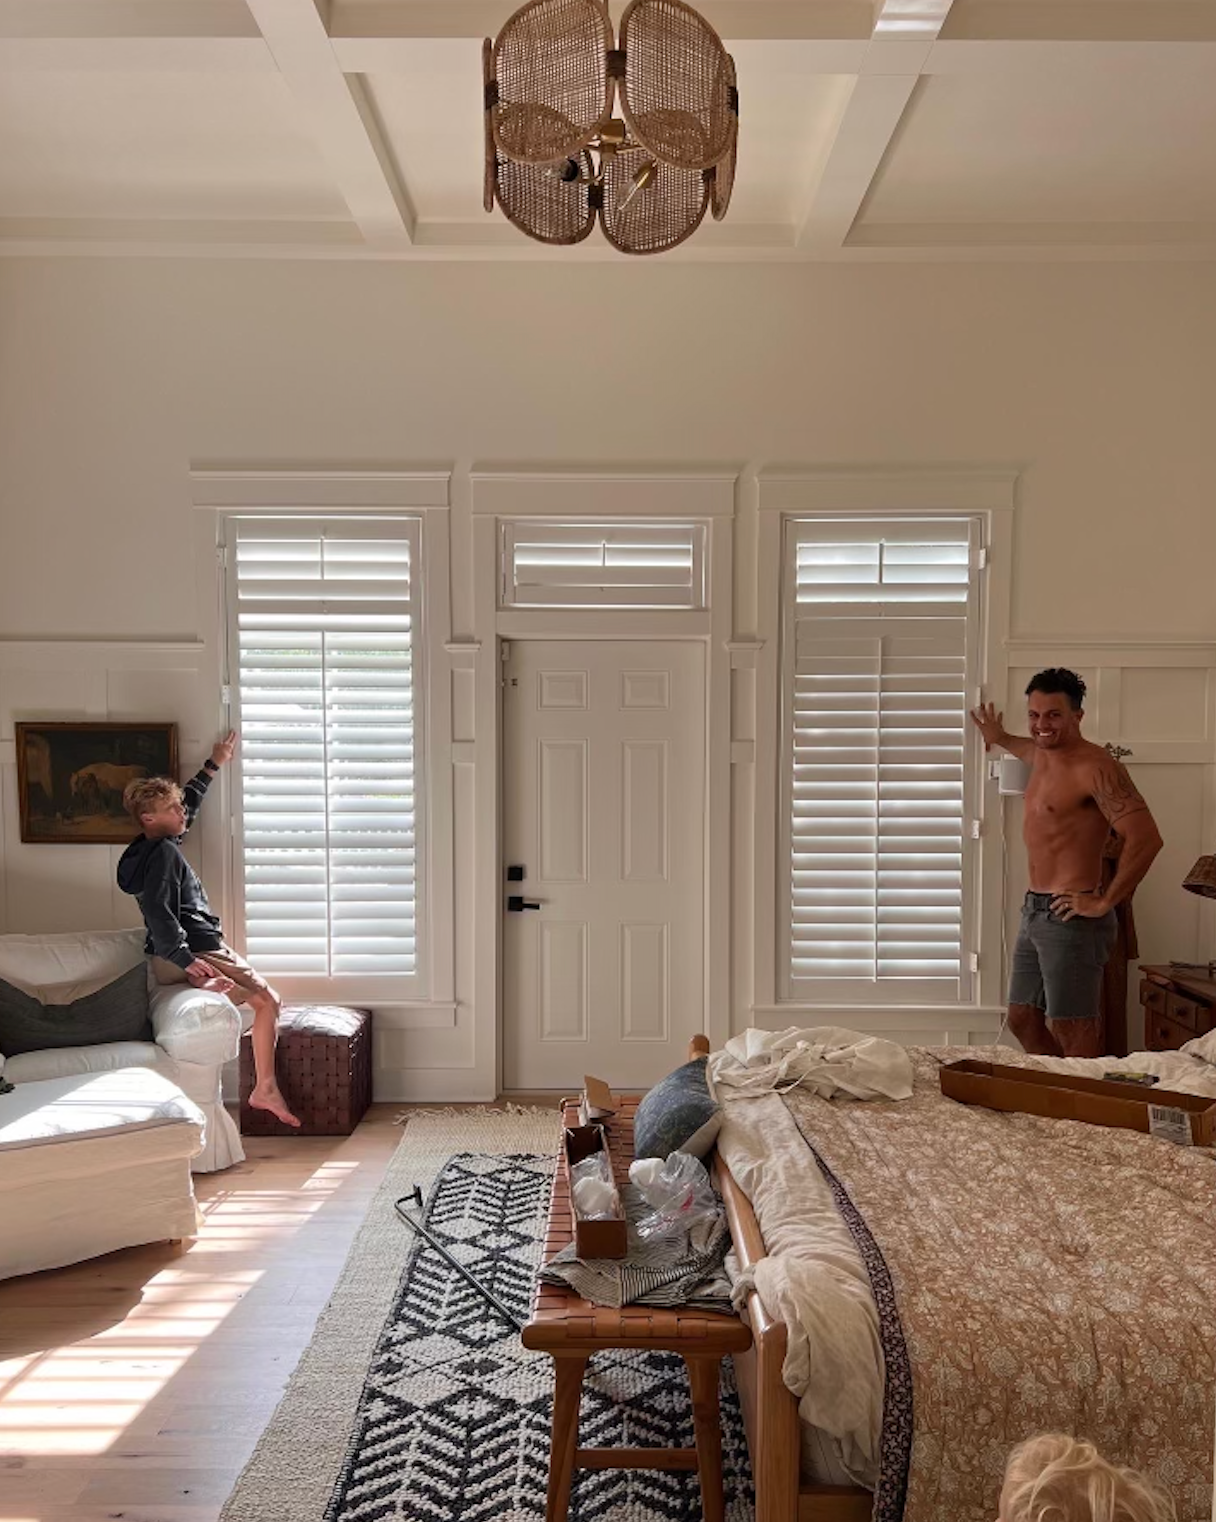

Before + After
And then for the lime wash...
Priming came first, which wasn't my favorite - I had to paint to paint, lol. But you have to paint lime wash on painted - fresh painted - walls. So Mama Lori came and helped me finish because she is just the best.
And then...I found out quickly that lime wash goes a lonnnng way. I bought 2 gallons and didn't even put a dent in one of them. The process is fairly simple but fun and creative. So the trick to lime wash - you use a 6" wide brush and paint in x's. Like I said, simple but it just takes momentum to figure out your hand placement. So just to test, I always start in a place that's not a main focal point.
I used Color Atelier 'Chévre' in 150% darker to start - I saw Bre Bertoloni use it and looooved it. So first you do the darker shade and go over it with the lighter. It's really fun to do overall, you can't mess it up and it's so artistic - out of all the paint jobs, this was my favorite. It's not about precision or coverage, it's about texture and strokes. As it dried, it looks better and better.
I ended up liking the spots where I was a little heavy handed, it adds character and as I went around I got a better rhythm. You really can't mess it up! And it makes a big, unique impact. And I ended up doing one coat - I loved how it came out and I didn't want to mess with it more. I am obsessed.
FAQ: Textured walls totally work with this...that's kinda the point - to add texture and give it some umph, if that makes sense.
The results are perfect. Send for the kids, never leaving. xx
Bedroom Sources:
Bed + Bed Striped Pillow + Chaise Lounge // Bedding // Quilt // Bench // Rugs [ code ASHLEY20 for 20% off ] // Floral Coverlet // Floral Pillows //Checkered Throw // Small Details: Thrifted
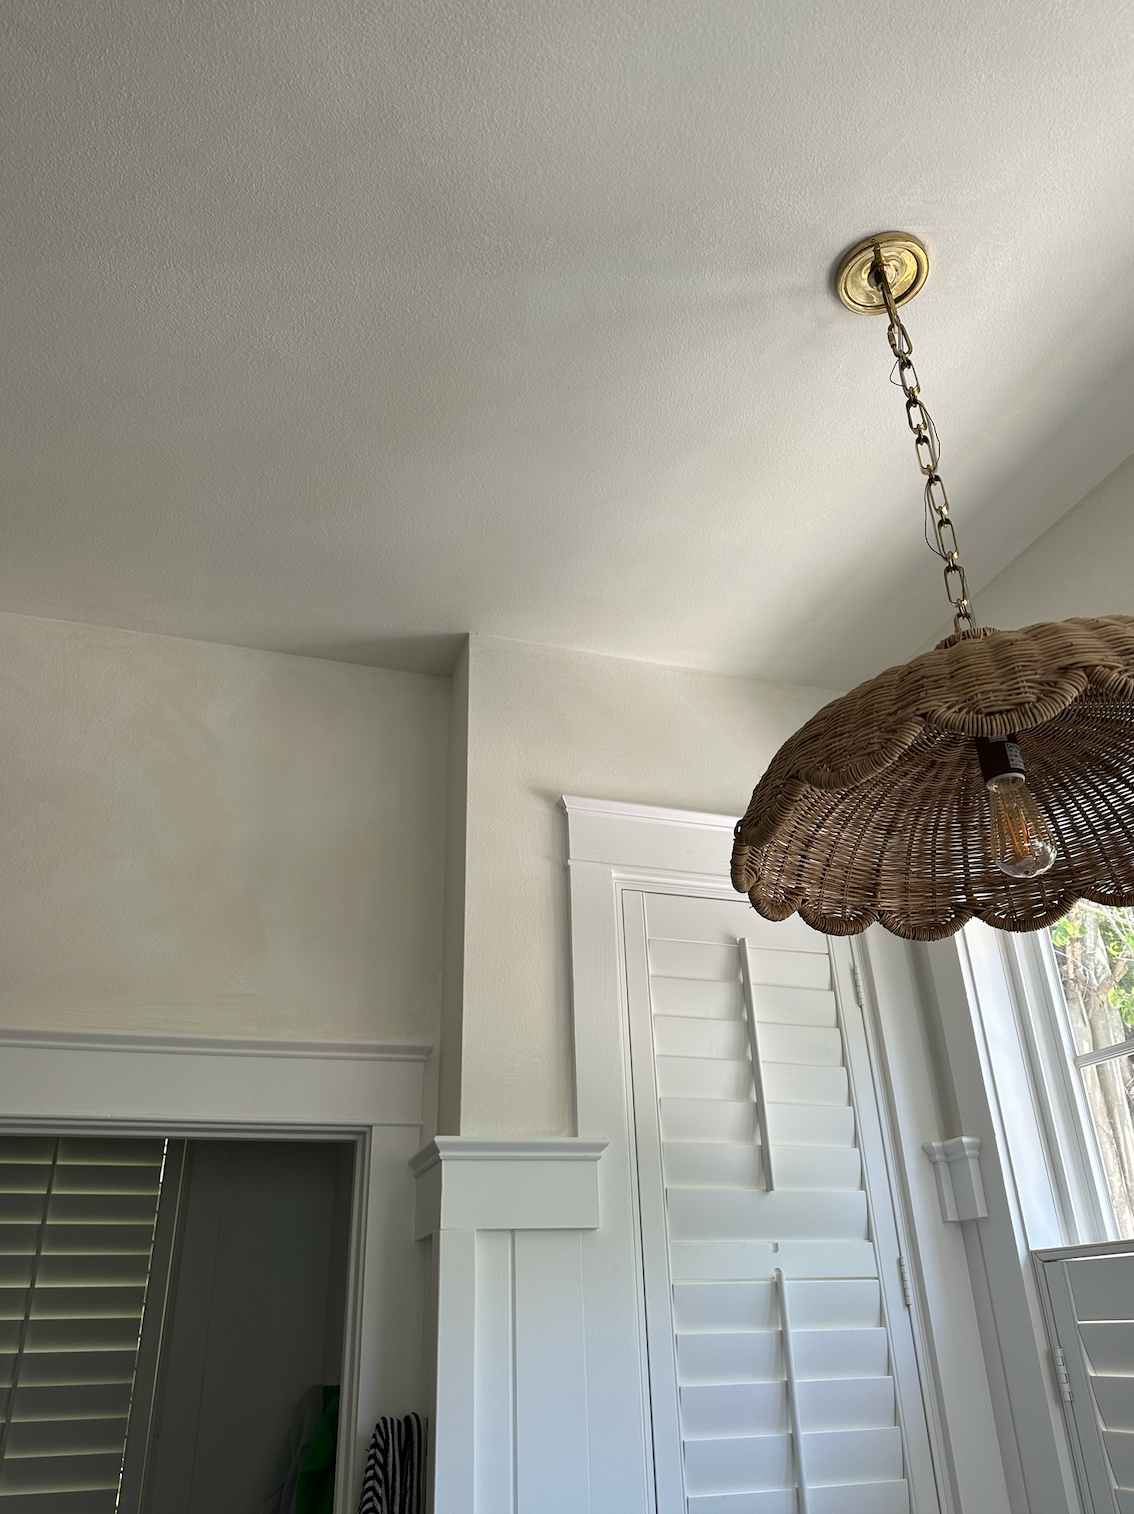
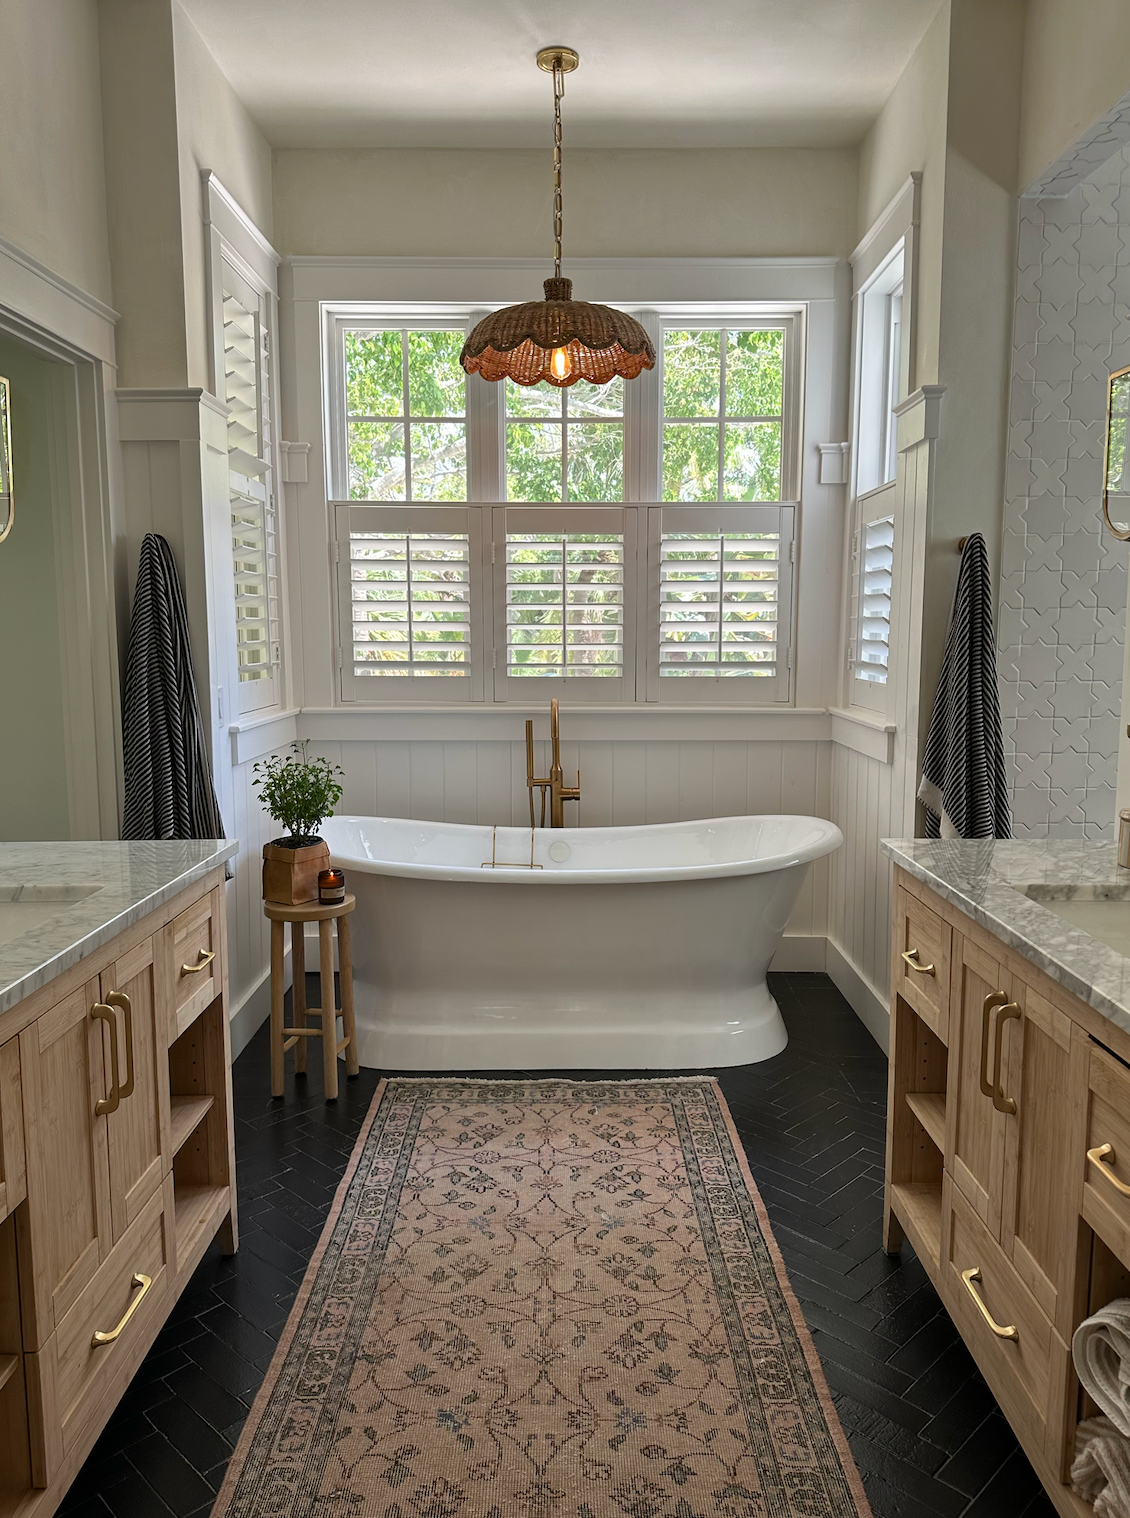
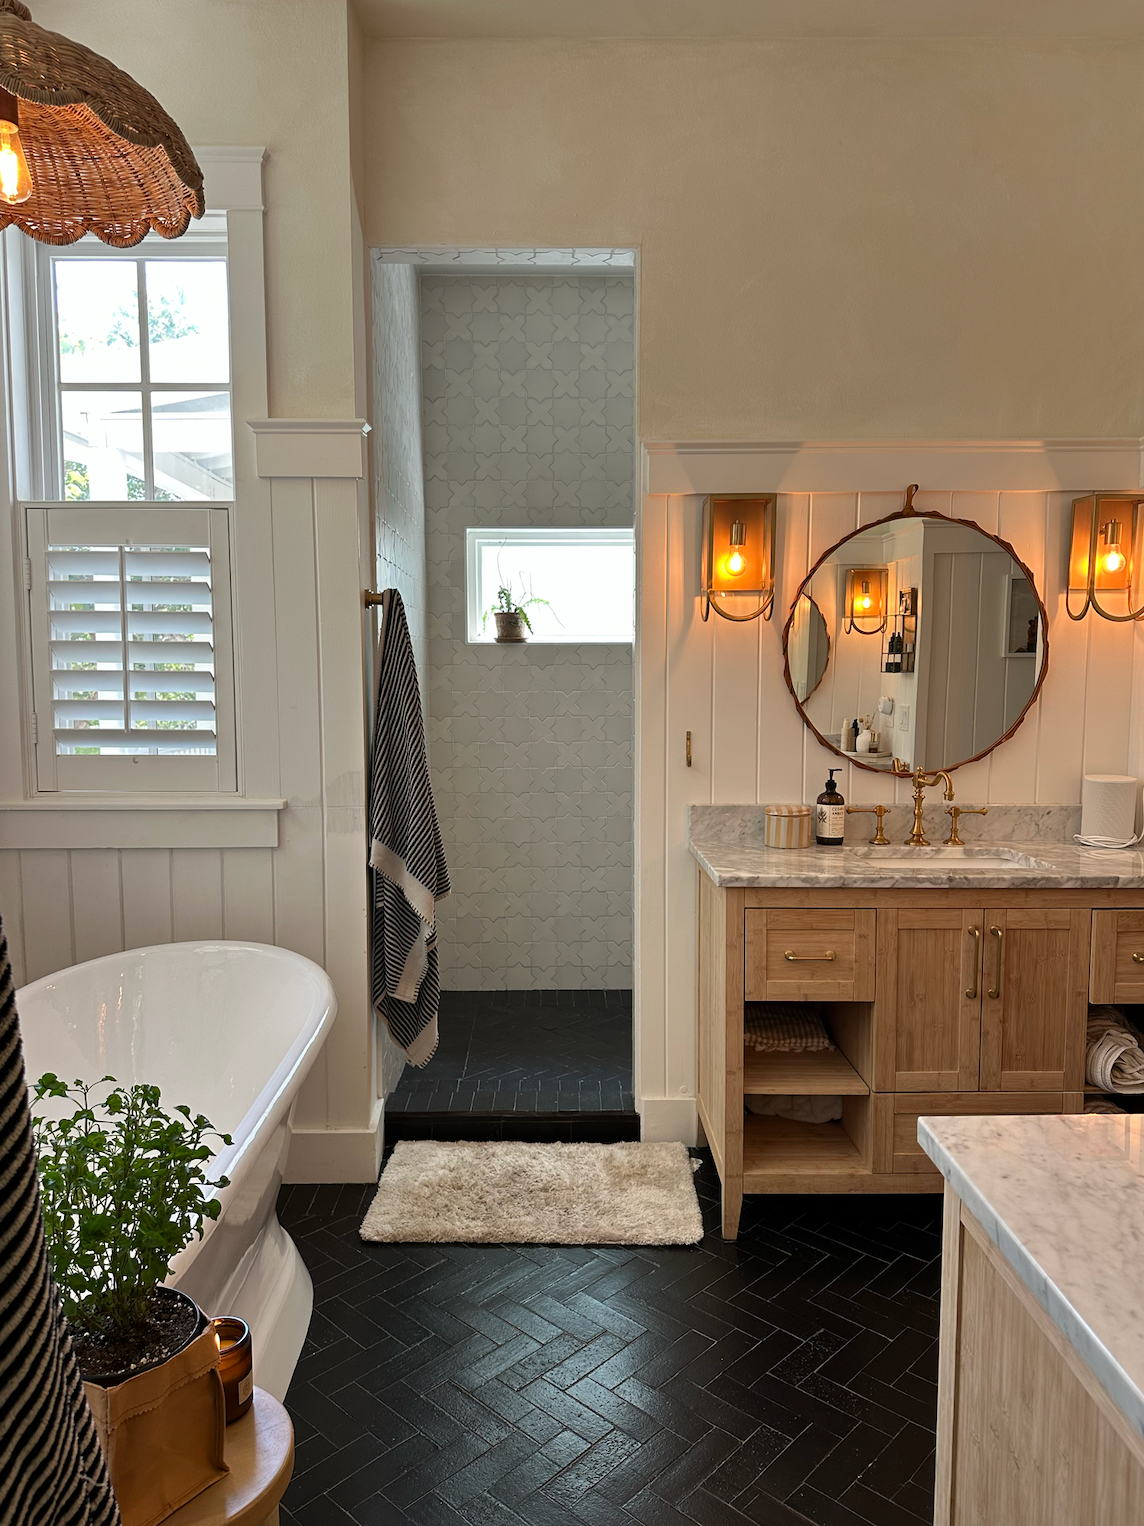
I loved it SO much, I had to bring it into our bathroom...SO good and SO glad I did the ceiling. I am bringing bath the season of the bathy, who's with me!?