faux brick wall
arrowsandbow9 • January 23, 2020
diy faux brick wall with paint
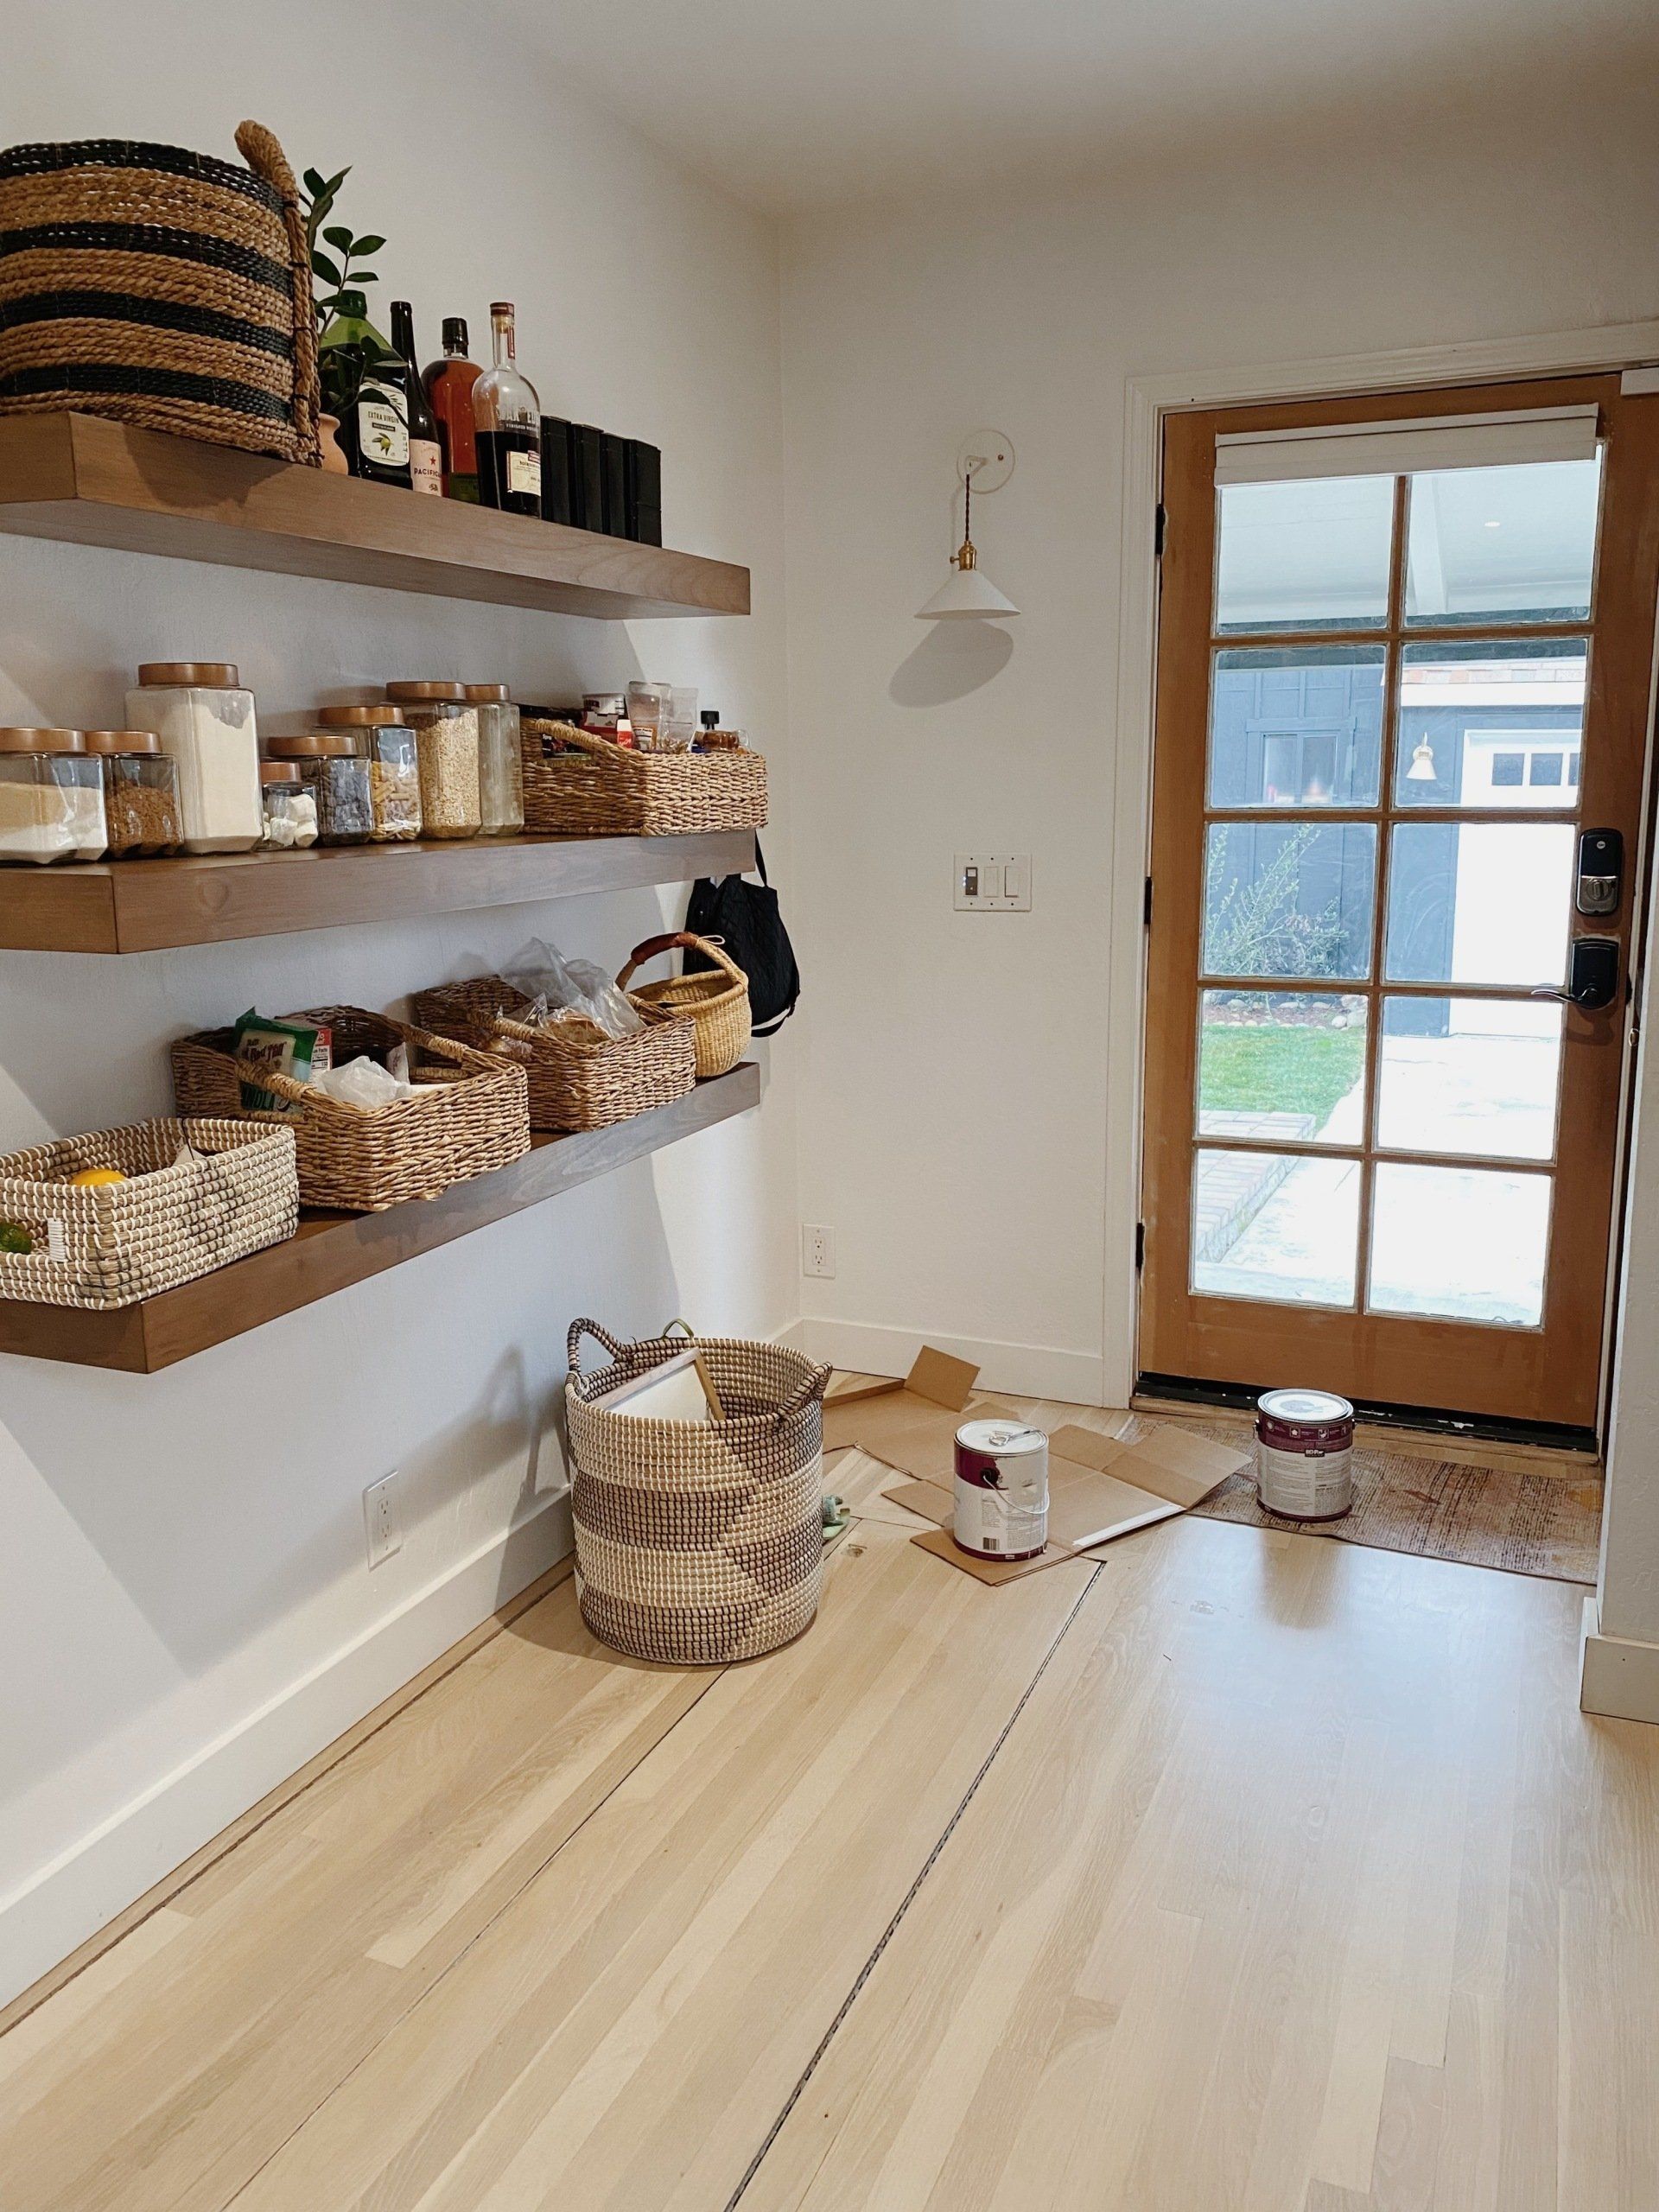
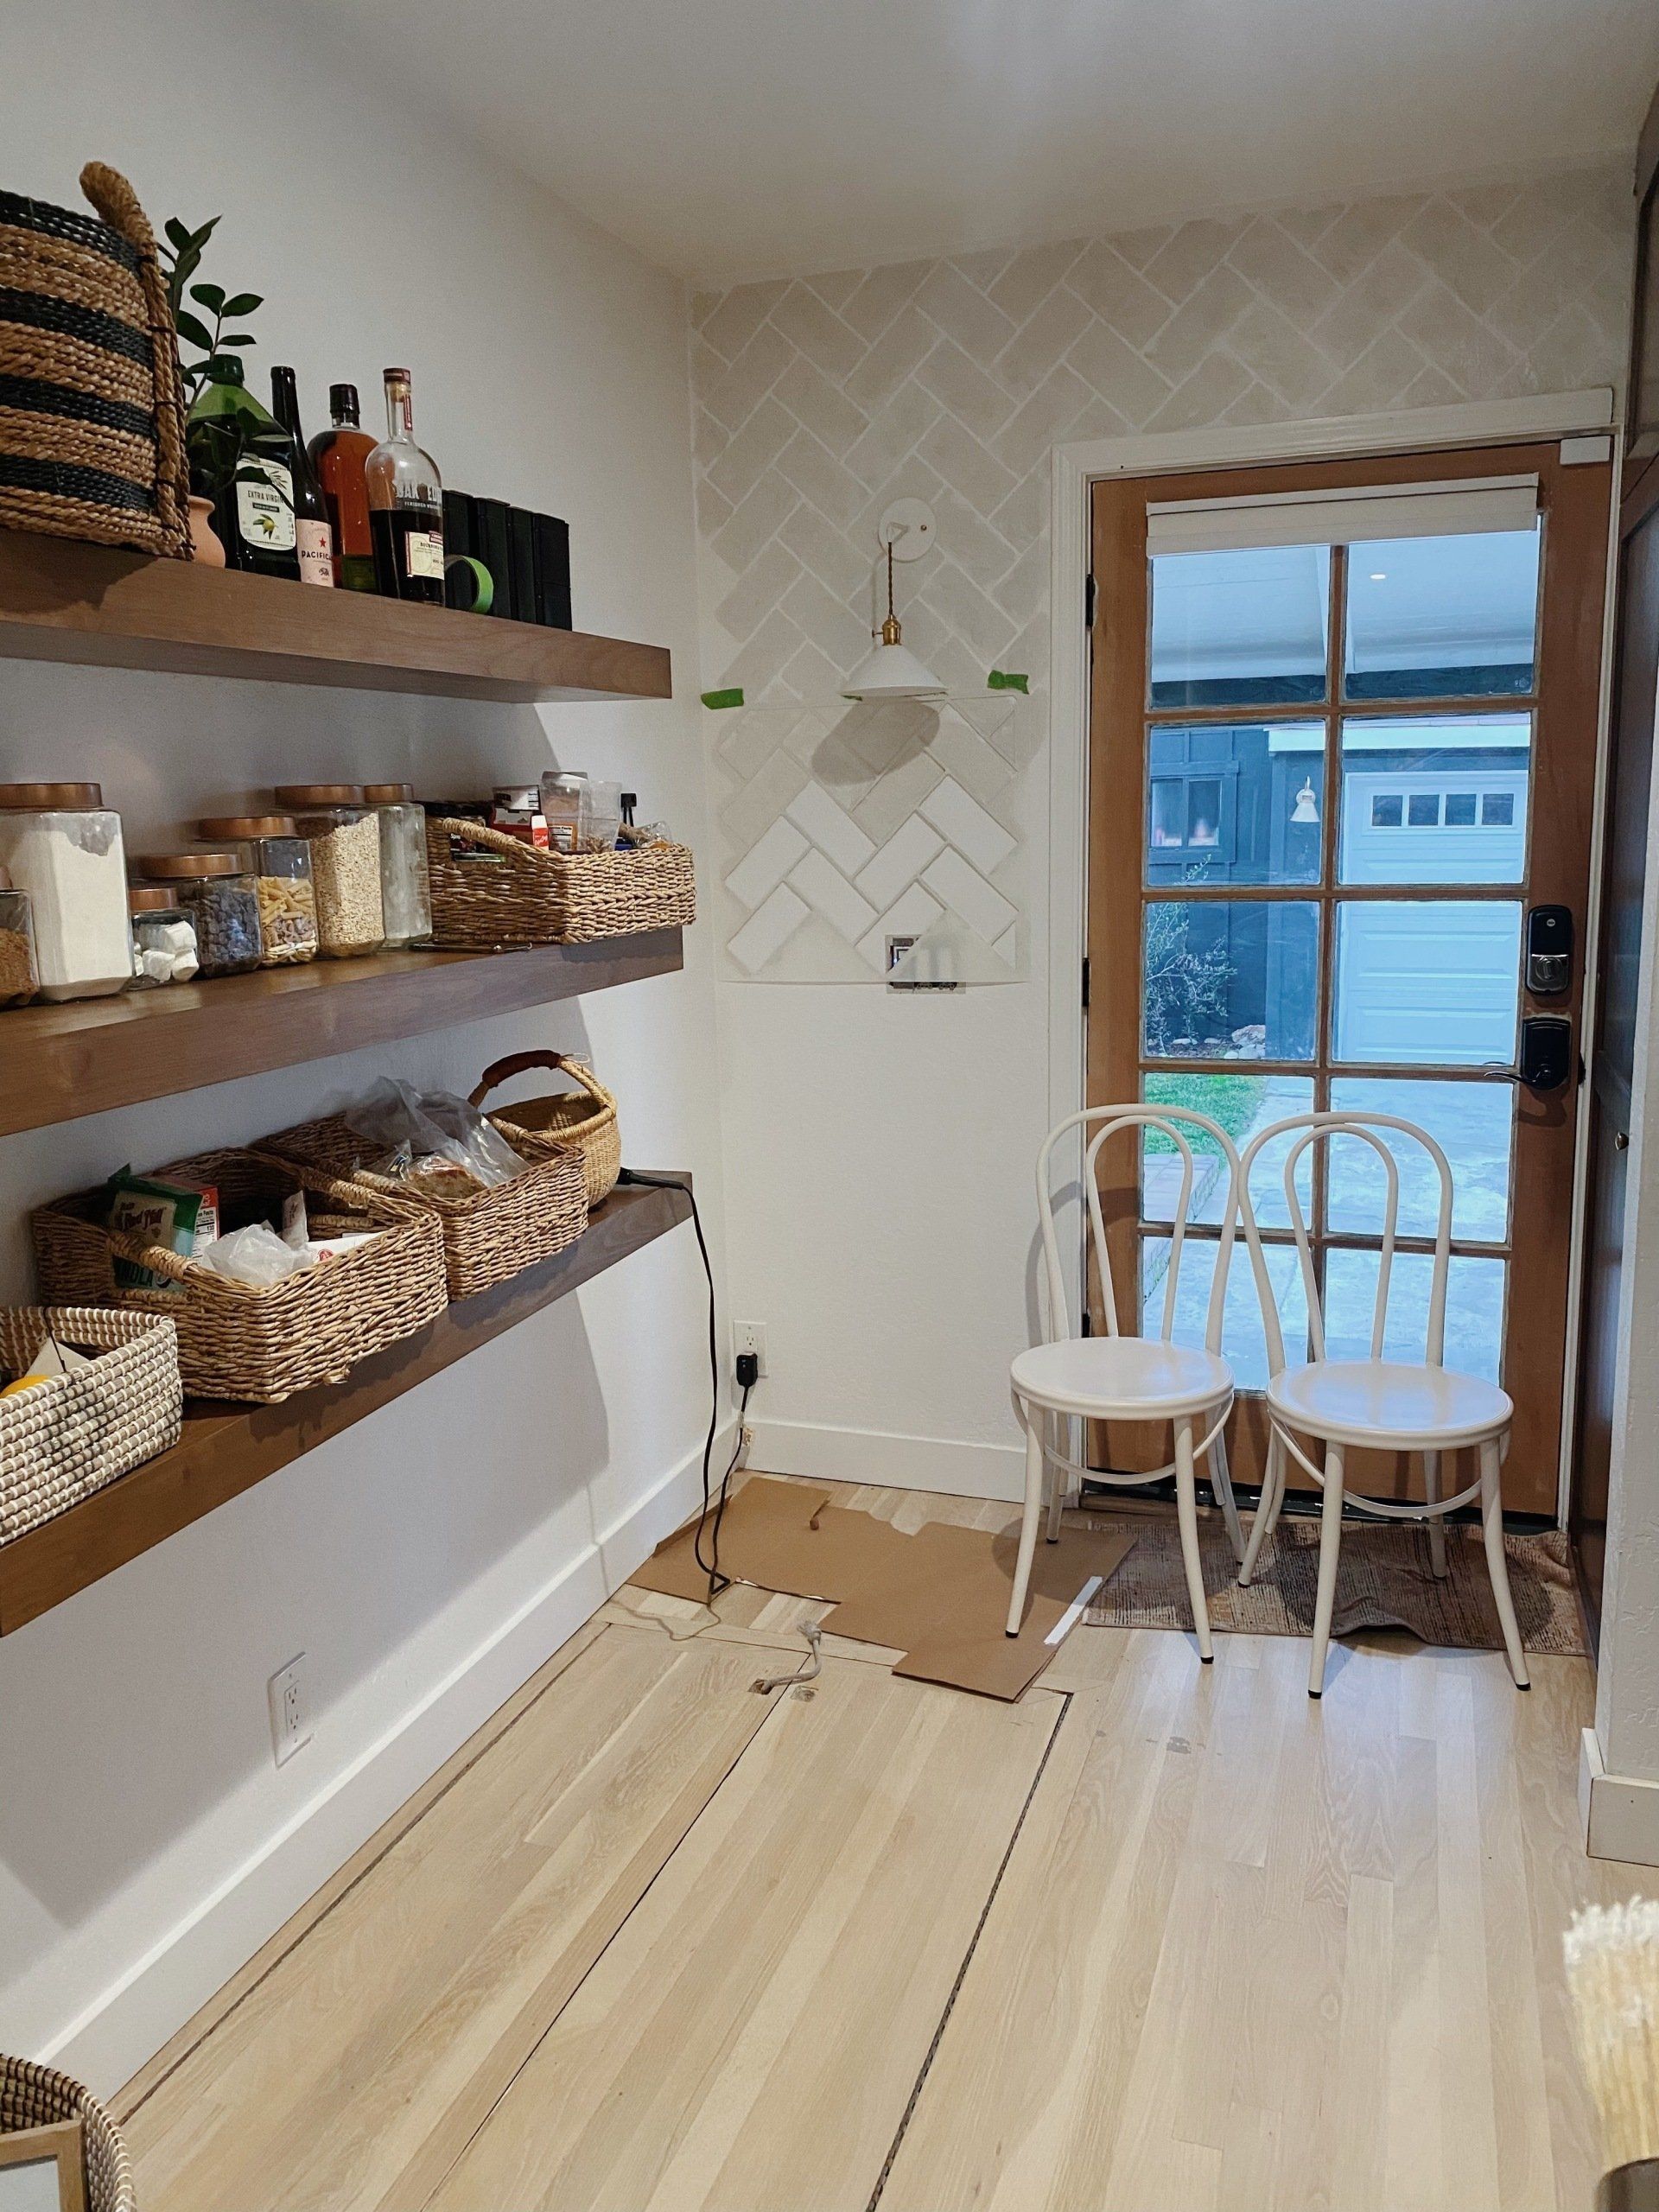
Our kitchen is long and narrow. This back door is where our laundry area is as well as our open shelving pantry. Buts its always kinda been a cold space, never felt cozy. I wanted to add something over on this wall to give it a little depth and bring the room in a little. I went back and forth on different brick ideas and landed on doing a stencil.
Heres why...
We have a lot of actual stone work in the kitchen already. I didn't want to compete with what we had going on. Plus, even if I DIYd it, it would have been a few hundred bucks plus the cost of renting a tile saw. Then of course there are the faux options with using painters tape and joint compound. But that was a little too halfway permanent for me. We plan on selling this house this year and I either wanted it done all the way or something I could easily paint over. SO stencil it is!
I used this stencil
from Royal Stencils. It was super easy to use and they even include step by step instructions. I had my mama helping me, so that always makes it easier too. We started at the top left corner and worked our way to the right and down alternating so it gave each portion a few minutes to dry. Using some tape helps keep it in place as well.
Color Combo
This was key in making it look 3 dimensional and realistic. My walls had some texture to them as well so that helped. I made 3 plates with colors. One plate had grey ( SW into the gloaming) , one plate had white ( Dunn Edwards Cool December) , and the last plate had a mix. It was about 3/4 white to 1/4 grey. The mixed color was my base. I used THIS large stencil brush
to apply with a small amount of paint on it. After I did one coat of the mixed I went immediately over it by dabbing the corners of my brush in the solid grey, dabbing the brick unevenly and then sorta blending it withe the brush. I then repeated the same thing with the white until it had the finish I wanted. Be sure to give it a few minutes so you can step back and see how the color dried.
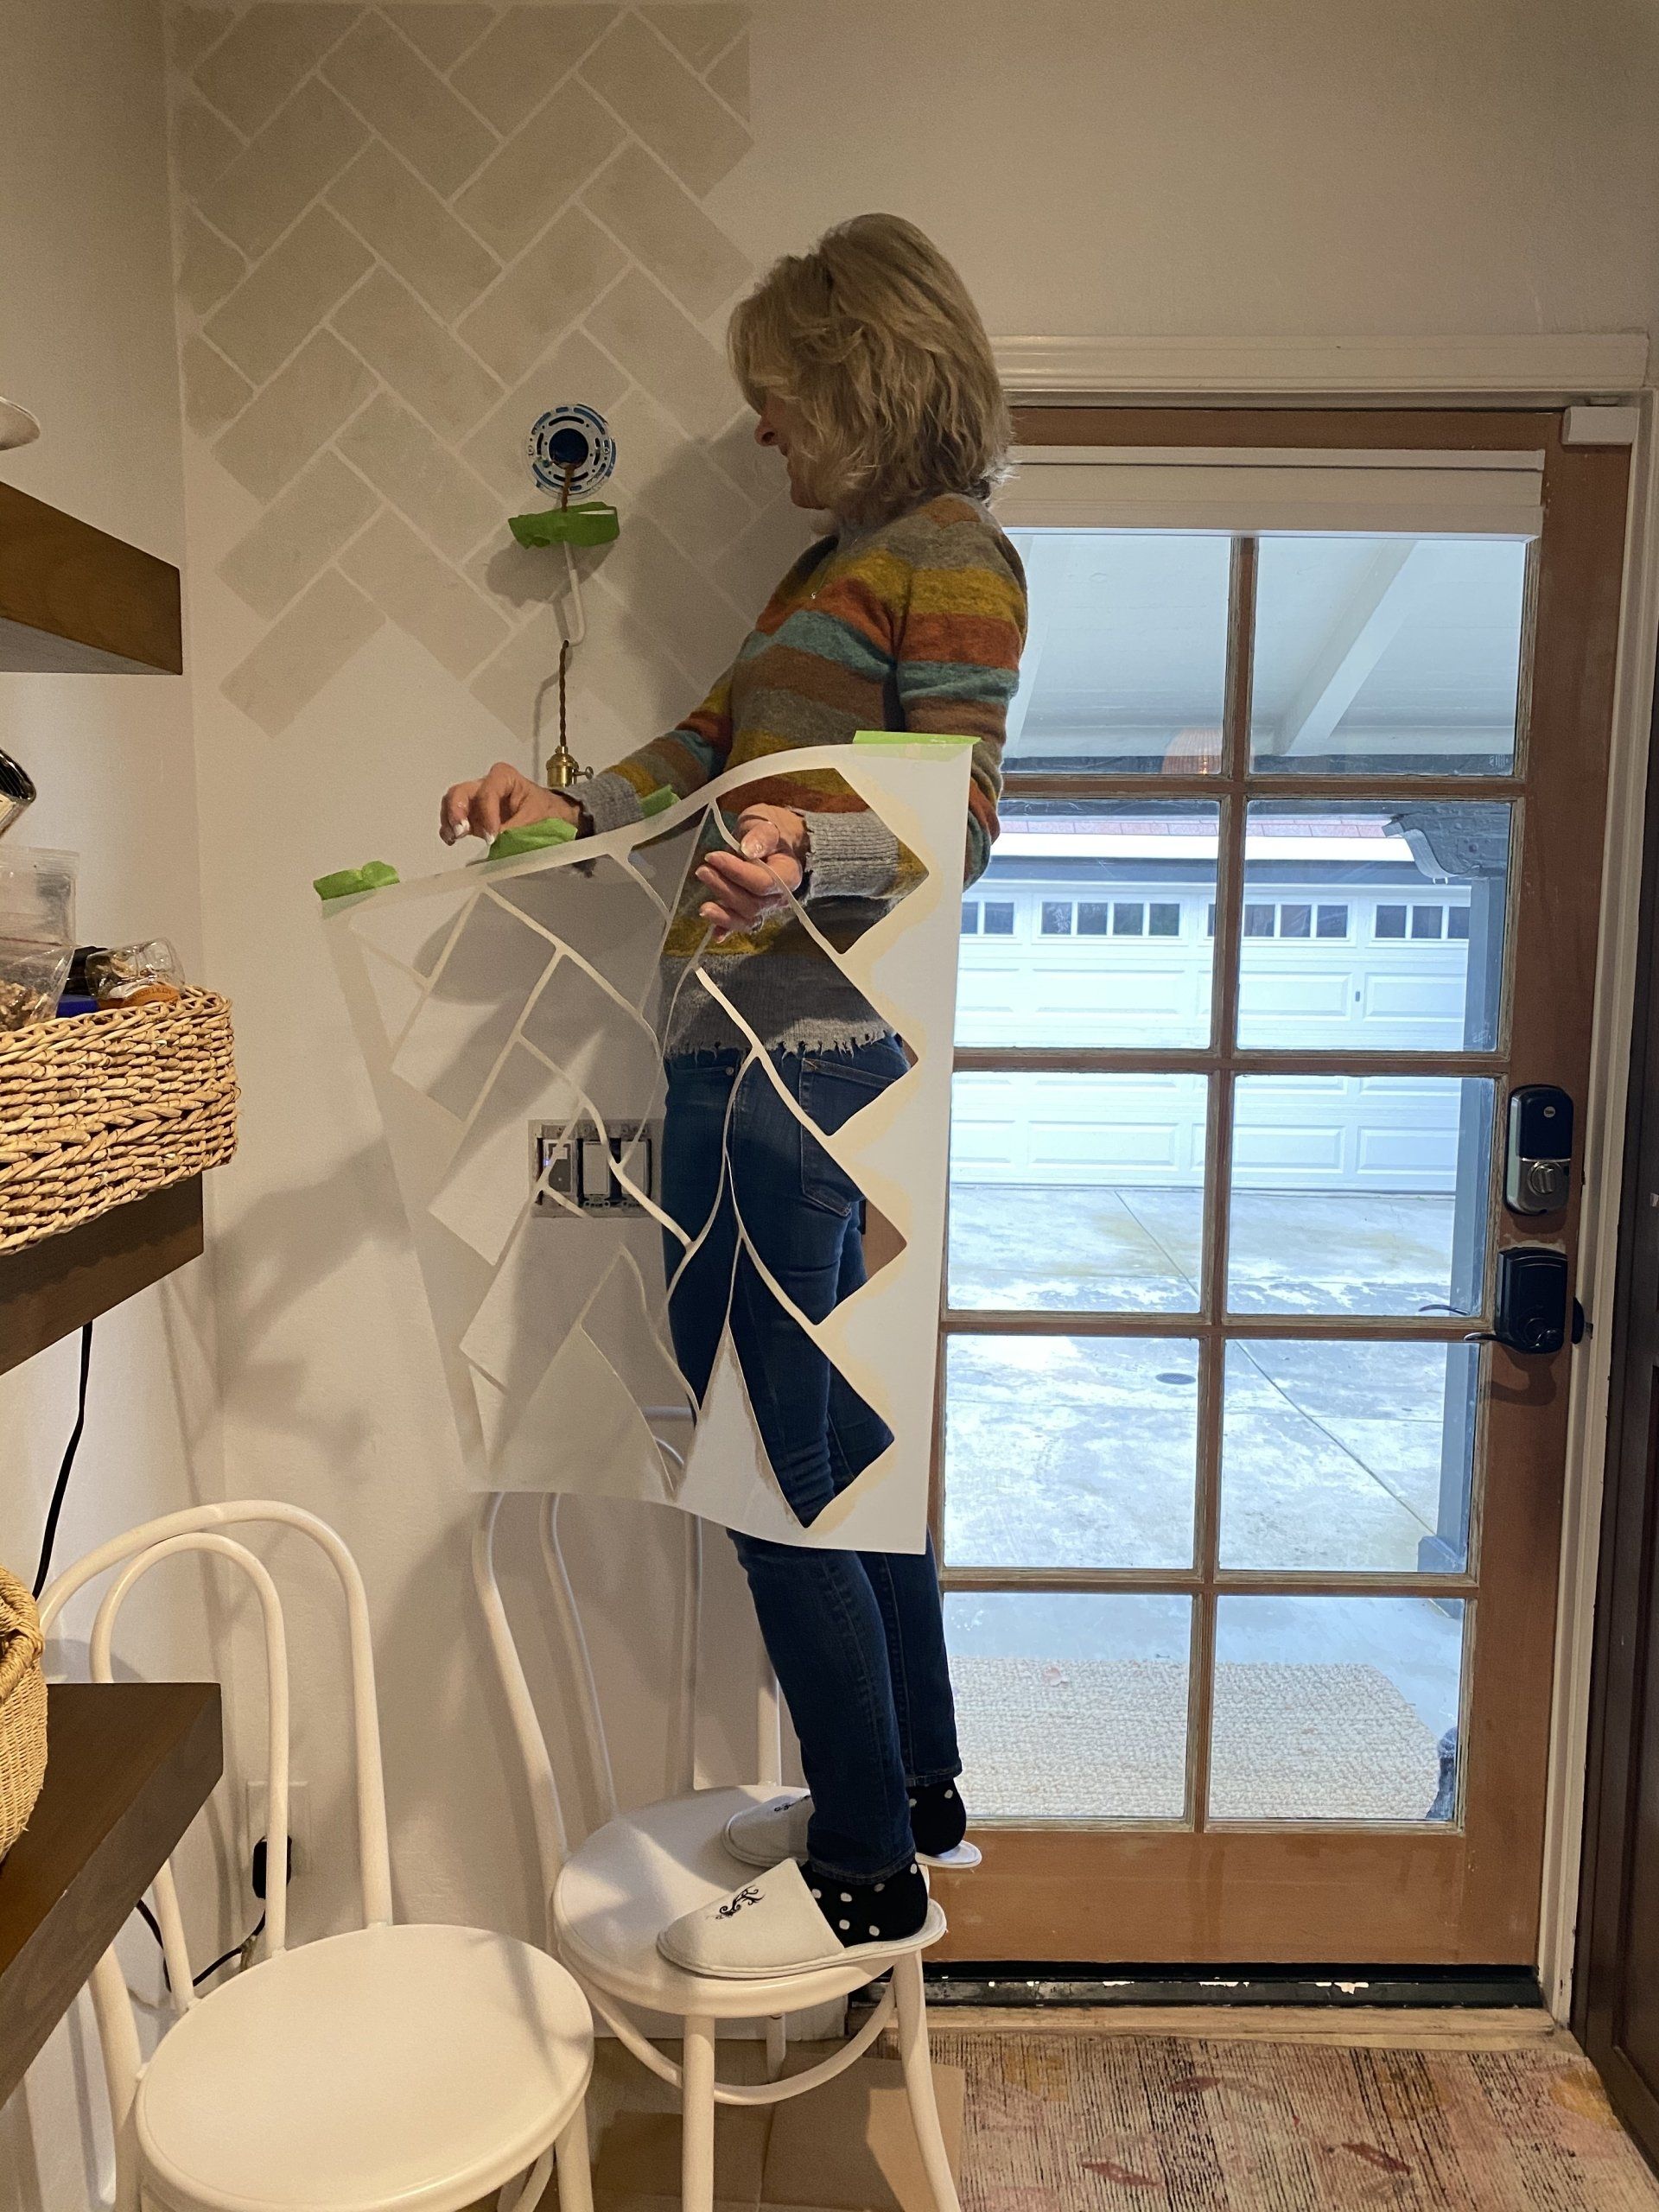
At this point you can remove the stencil and move on to the next section. Repeat until done! You can use the stencil for the edges and smaller corners. Or you can free hand them... we did a little of both. Ive also cut my stencil at the very end to help do the edges on some projects.
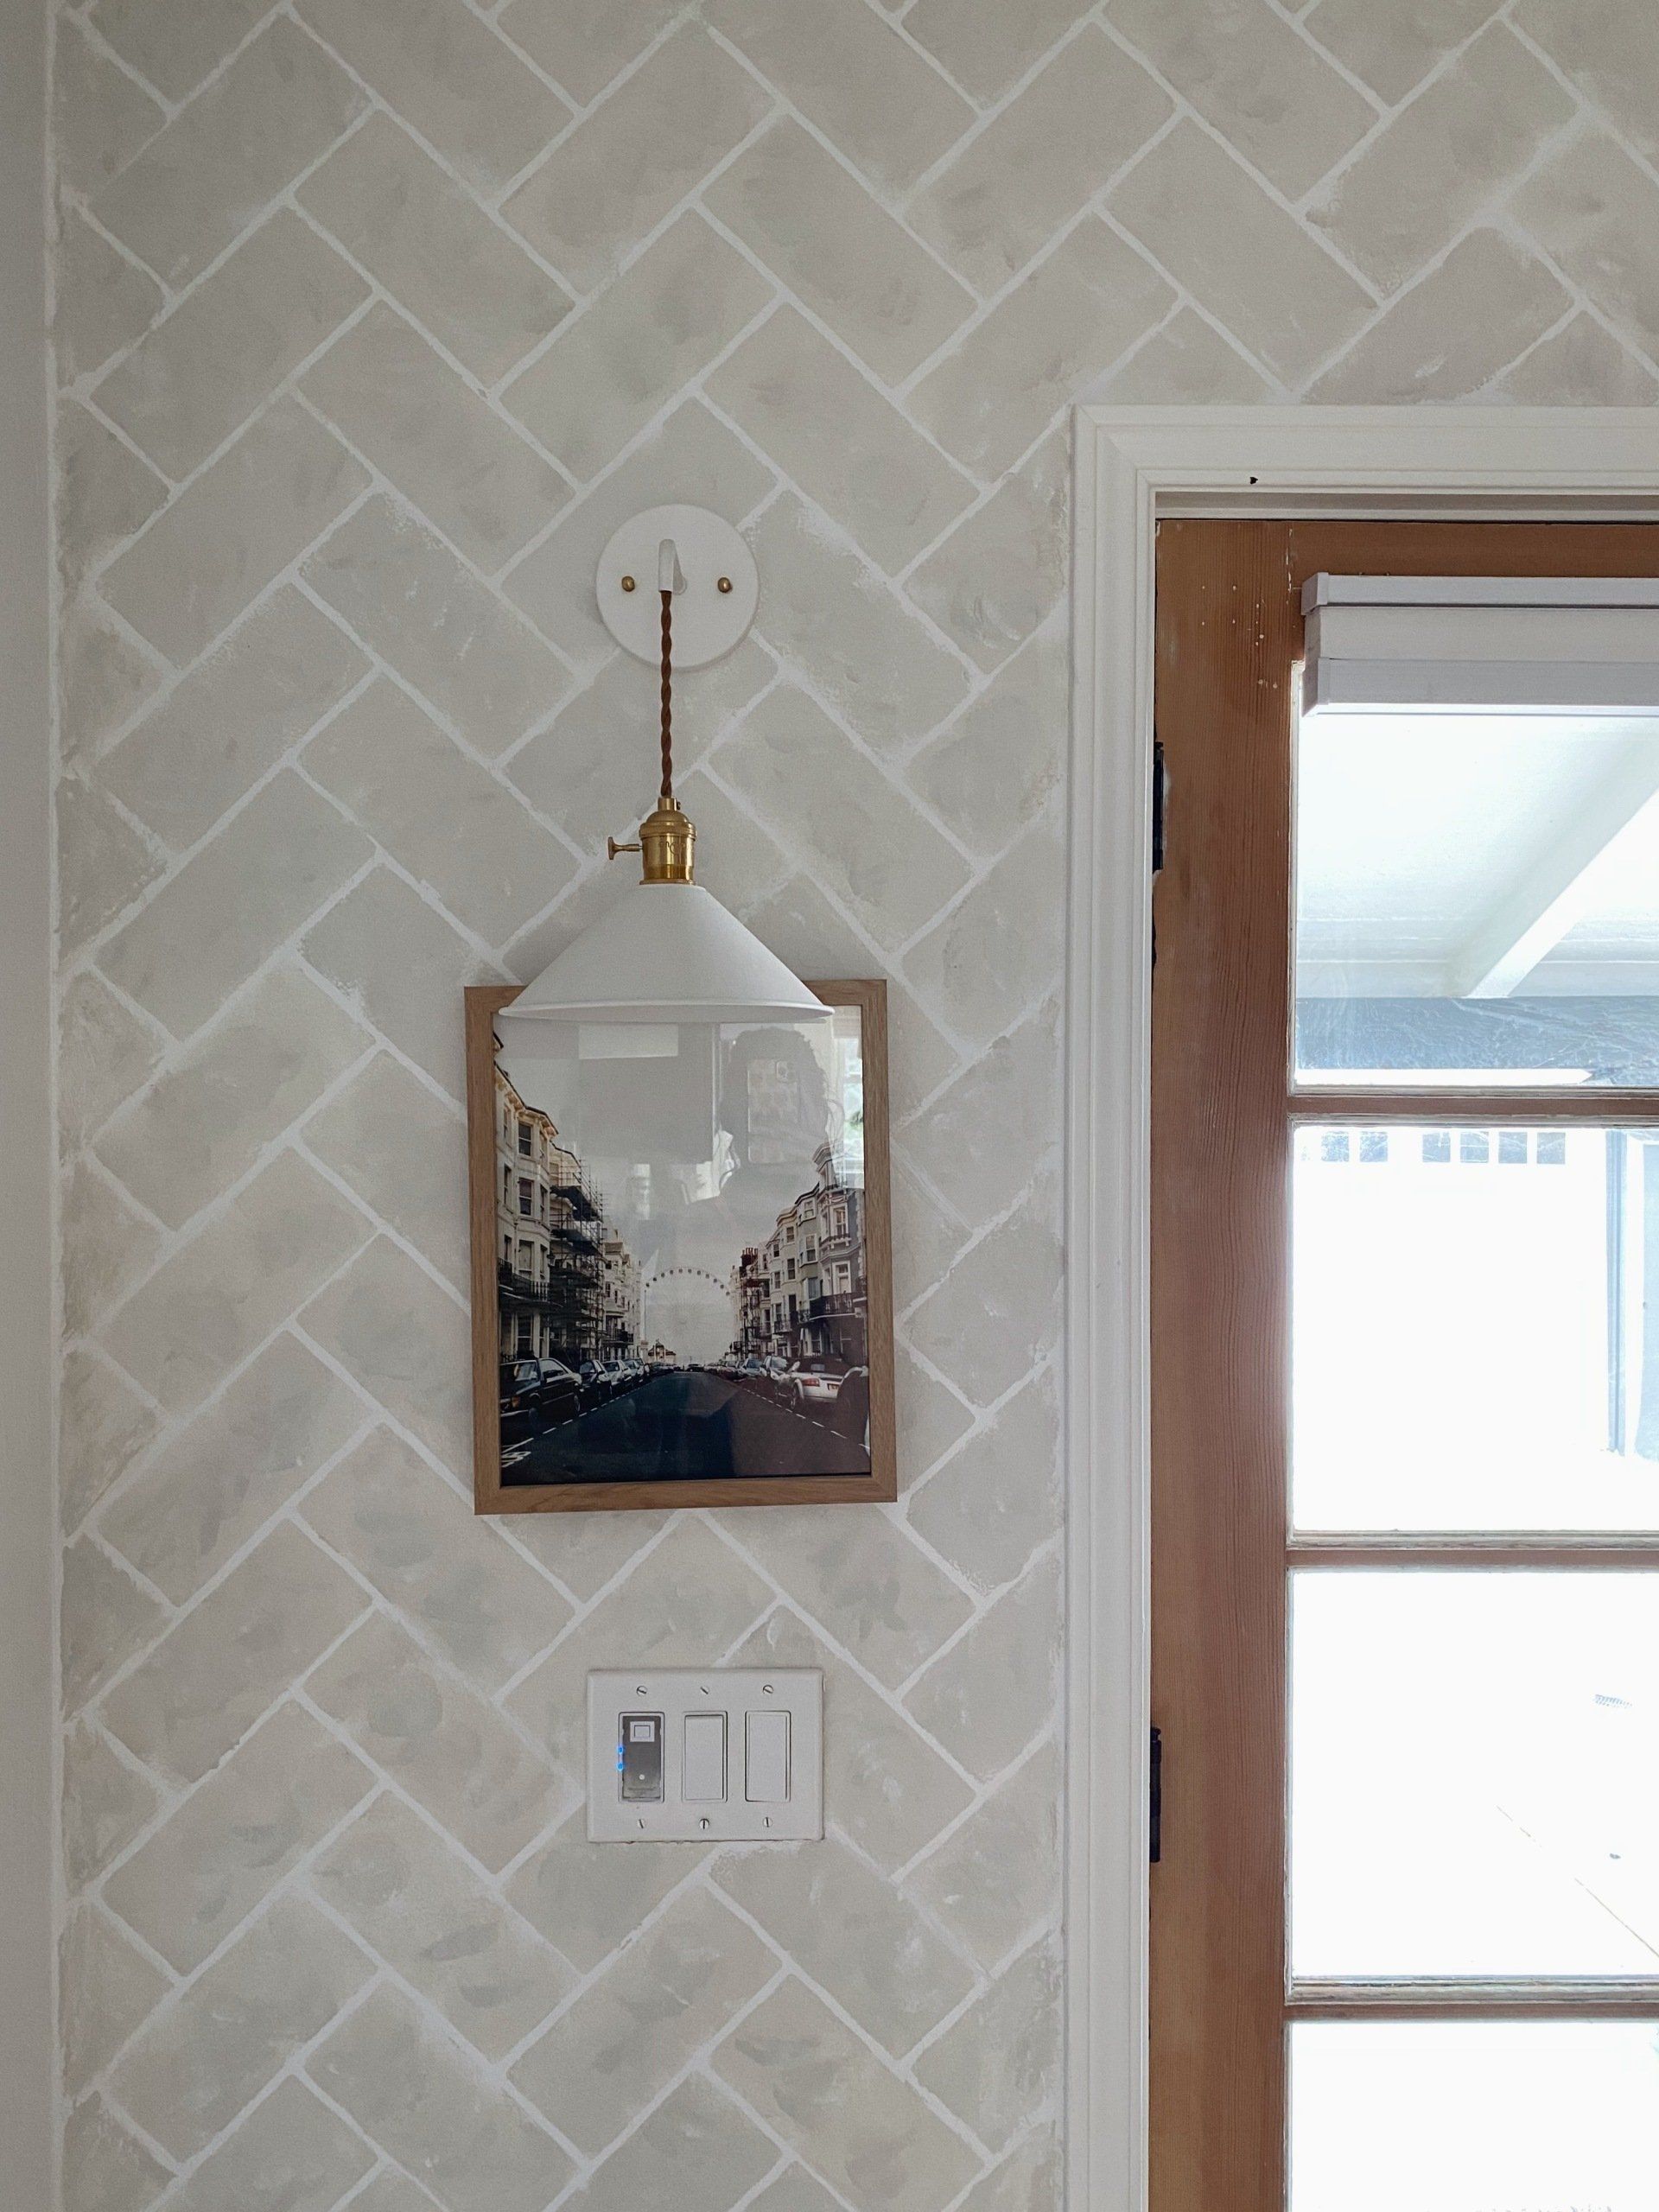
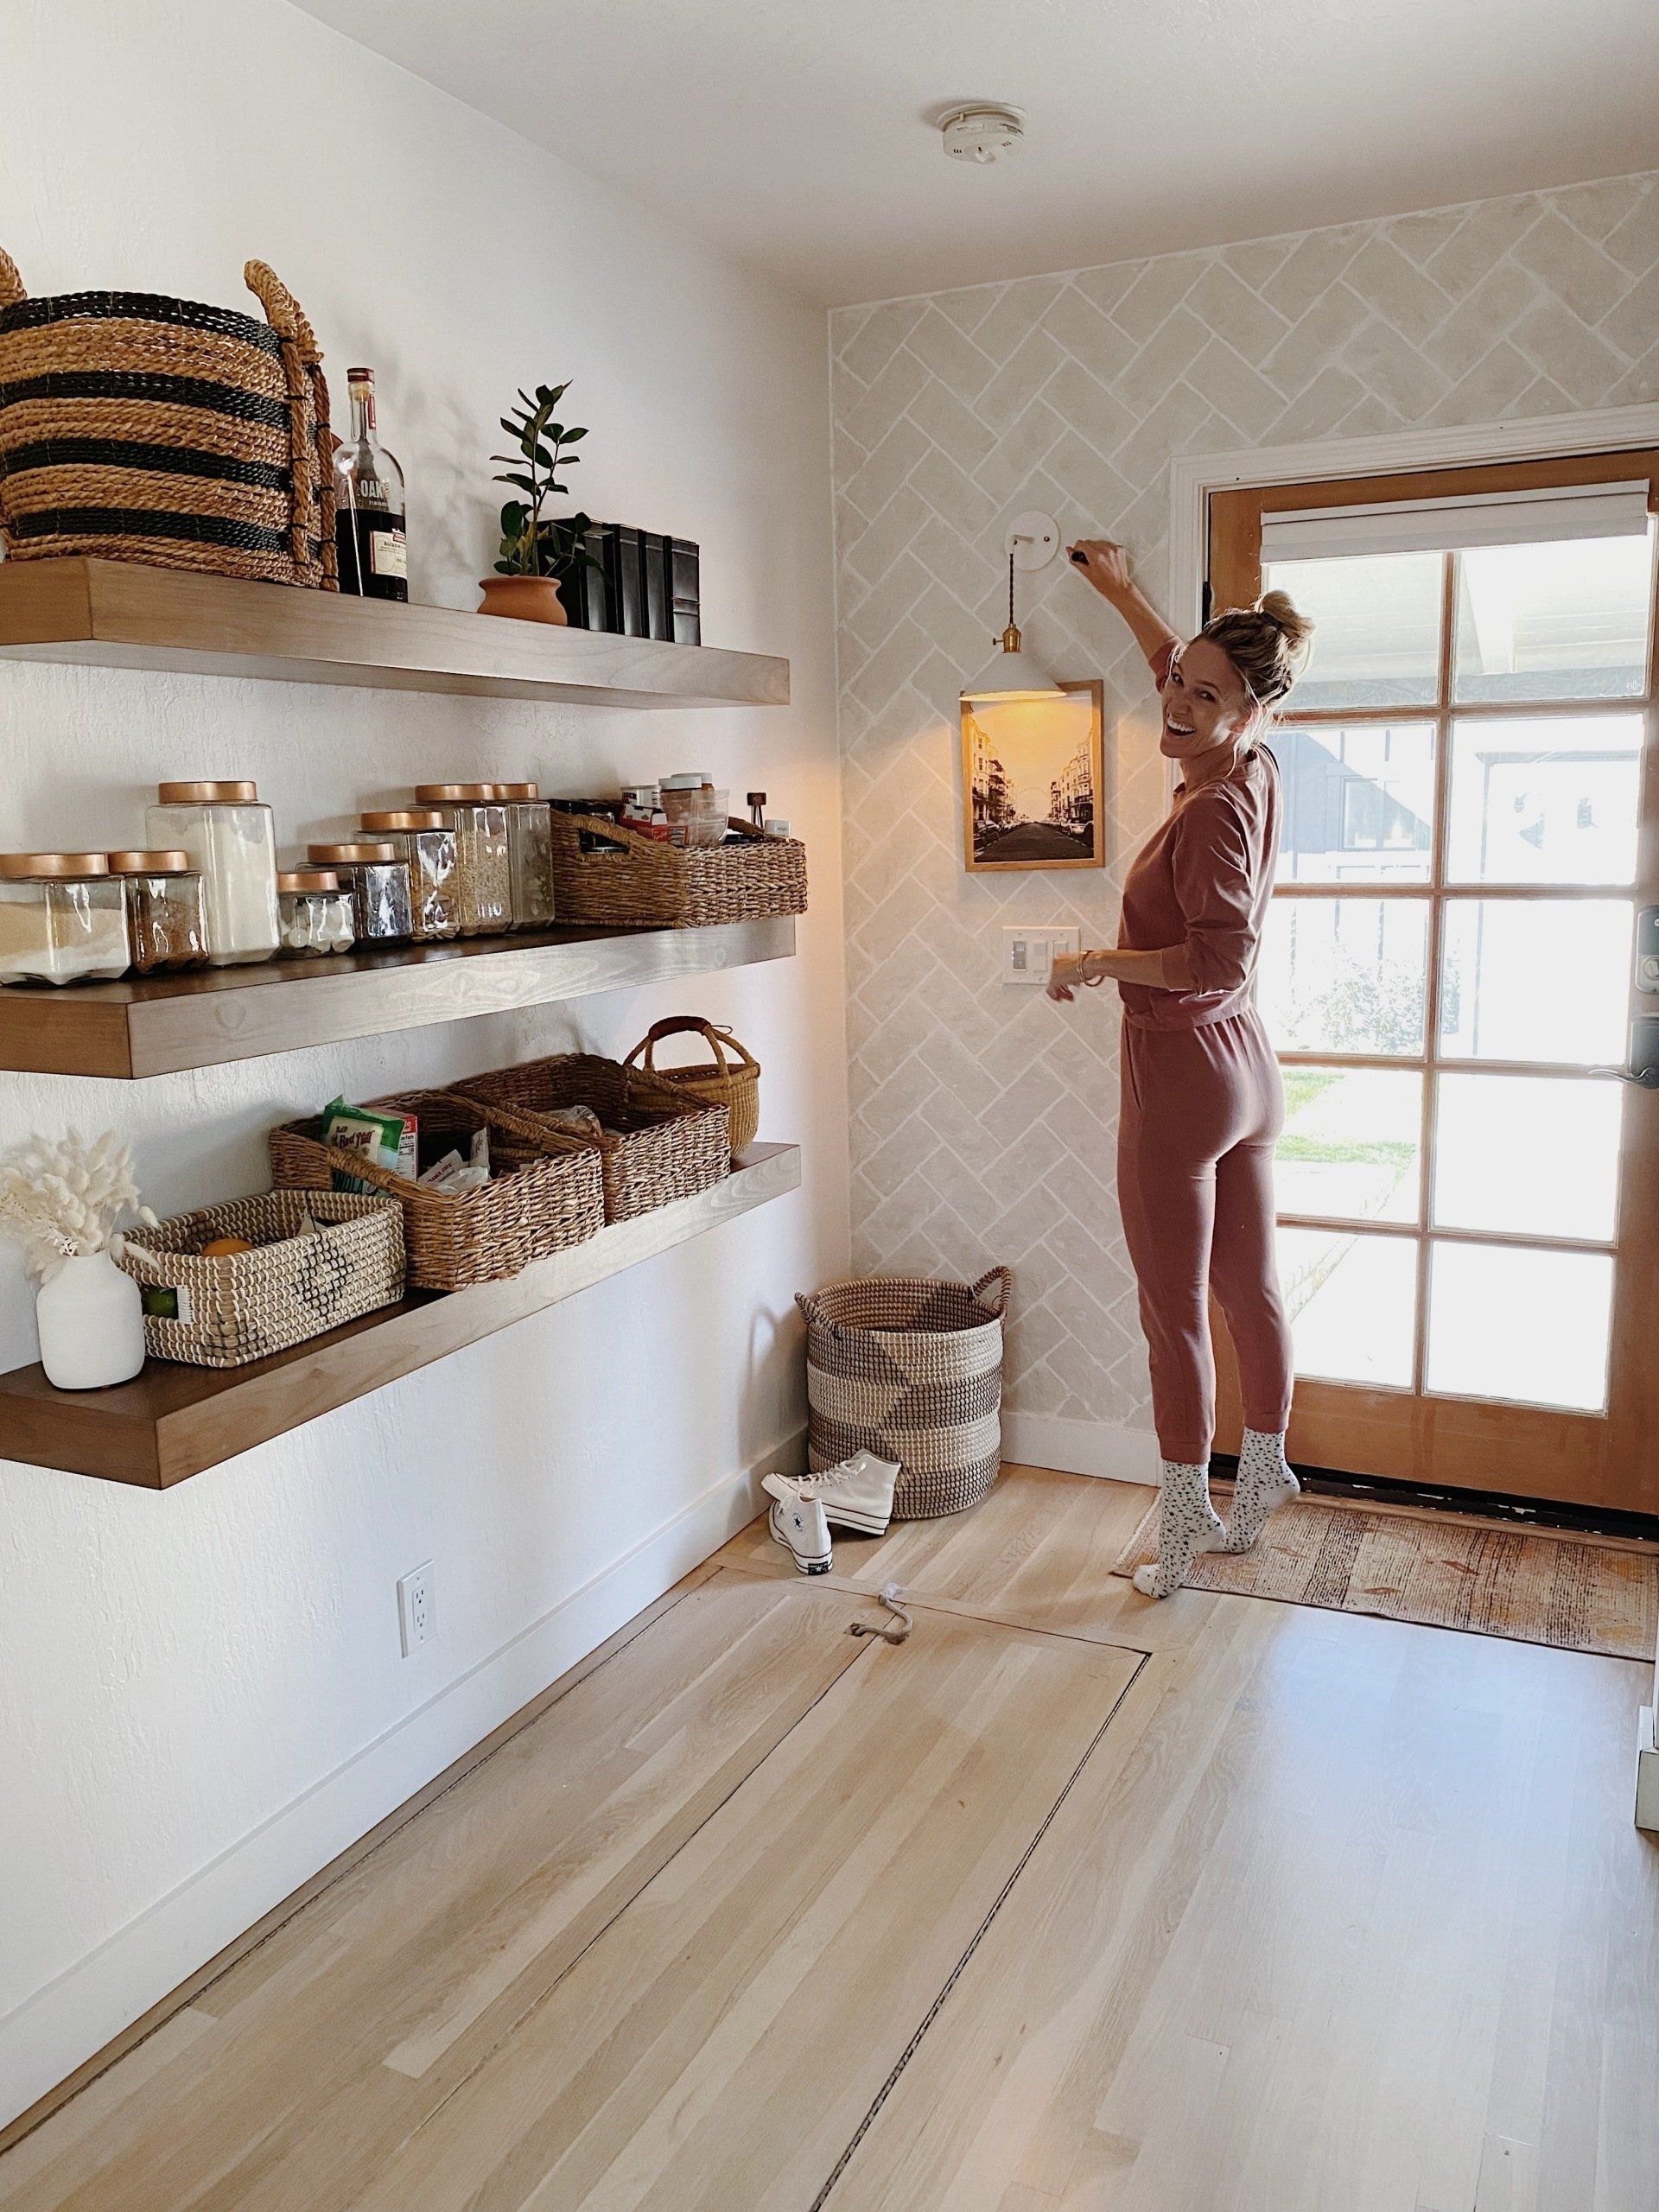
I love the way this turned out! especially with my wall texture. Its hard to tell in pics but you can really see the texture, which makes it look like brick!

One Hunnit Percent...The Best Brisket

Christmas Cocktails
So you're prepping for a move...
This yummy pairing is the perfect Fall meal!

We flew to Denver to say what we said before...

It's been a bit since we moved into the new house...